 31. oct.
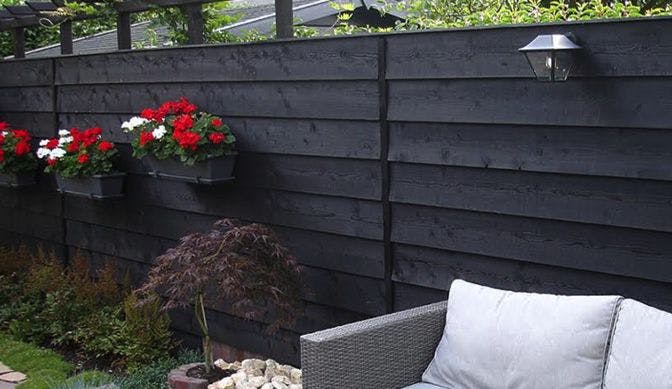
Building a fence with feather edge boards is getting more and more popular. This is mainly due to the privacy these kinds of fences offer, the sleek look, and the durability of the fence. Next to that, the boards are available in different types of wood and in various colours, so you can always find the right look for your garden. On top of that, you can build a feather edge fence yourself relatively quickly.
In this blog, we explain how you can build a horizontal feather edge fence using round head nails.
What is a feather edge board?
The defining feature of a feather edge board is that one side is thicker than the other. They gradually narrow towards one side, allowing you to make an overlapping fence or a fence on an incline. Feather edge boards are also called closeboard fencing.
What is a round head nail?
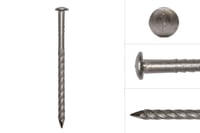
Roundhead nails are also called stainless steel nails. The nails have a round head and ridges. The ridges prevent the nails from being pushed out again when your wood starts to warp due to changing weather conditions. The head of round-headed nails should always remain on top of the wood, so be careful to not hit the nail too hard. This prevents damage to the wood as well as other kinds of trouble, such as leakage.
Using round head nails
The easiest and quickest way to work with round head nails is by using an air tacker. This allows you to choose how deep the nail will shoot into the wood, and lets you work incredibly fast. Of course, it is also possible to secure the wood manually with a hammer. It will take a bit longer, but you will not have to worry about buying a tacker or adjusting the settings of the tacker. The latter is a precise task, since the round head nails should not be too deep or sticking out. With a hammer, you have more control over how this happens.
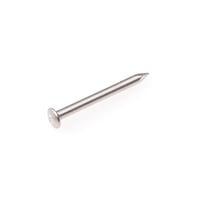
When securing feather edge boards with round head nails, pay extra attention to the length of the nail. As a rule, the length of the nail should be about two and a half times the thickness of the board. For example, is your board 18 mm thick? Then you will need a round head nail of about 45 mm. You can find stainless steel round head nails in different colours and sizes on our website.
Good to know
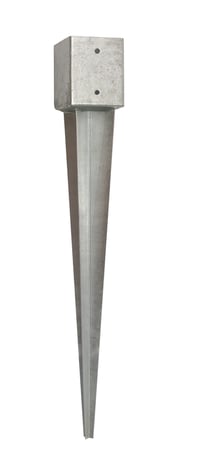
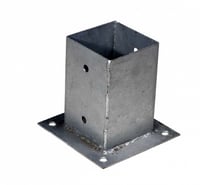
It is important to use enough posts when building a fence with feather edge boards. Due to the overlapping boards, the wind cannot pass through. To withstand the force of the wind, make sure you use enough posts and to anchor them well. The best posts to use are hardwood posts that are at least 7 x 7 cm thick. If you prefer impregnated wood, then use posts that have a minimum size of 8 x 8 cm. As for the length of the post, we recommend using posts of 3 m with a 2 m fence. For even more strength, anchor the posts with concrete. Wovar also offers a wide range of post holder, that can be used to secure your new fence.
Because feather edge boards overlap each other, they not only create privacy, but also ensure good drainage of rainwater. This in turn increases the lifespan of the wood.
Building a horizontal feather edge fence
- First, secure the posts. Make sure the distance between the posts is no more than 60 cm.
- Start attaching the feather edge boards at the bottom of the fence. Use two round head nails for every post you attach the board to. Secure the first nail at ¼ and the second at ¾ of the width of the board.
- Keep a distance of at least 3 mm between the individual boards. This allows the wood to change with the different weather conditions. Not doing so can cause the wood to warp or break.
- Use a spirit level to ensure all the boards are straight.
Ordering round head nails
Order your round head nails today, so you can start building your feather edge fence. We offer round head nails per 500 grams as well as on a roll. Are you a professional gardener or landscaper? Sign up for a free business account to profit from, among others, a business discount and access to a detailed order history.
