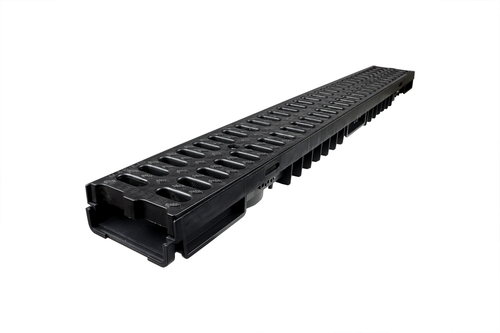
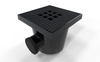
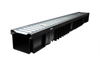
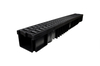
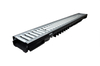
Need to get rid of excess water? A drainage channel is the perfect solution. This channel with plastic grate is 1000 mm long, 130 mm wide, and 55 mm high. The high-quality material is incredibly strong.
Note: This is a shallow drainage channel, meaning it is not suitable for very large amounts of water. This makes them ideal for balconies, entrances, or garages. If you do need a drain with a larger capacity, check out the regular drainage channels with a height of 105 mm.
Shallow drainage channel
You can place the drainage channel anywhere on your property, as long as it is in a place where the water can easily reach it. This usually means it is at the bottom of a (slight) slope. Installing a drainage channel is something you can do yourself. To make it as easy as possible, follow the guide below.
- The first thing to do is determine the right location for the drainage channels. Check whether the ground slopes down to the spot where you want the channel, or if this is something you still have to change. If you have not paved your patio or driveway yet, this is typically done before installing the drainage channel.
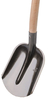
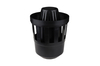
- Next, start by digging a ditch. The width of the ditch should be equal to the width of a spade. Similarly, the depth of the ditch should be the same as the height of the blade of a spade. Use round, PVC drain pipes with a diameter of 110 mm underground. If you want to connect the drain to the sewage system or a similar system, check with the municipality first. If you want to join the drainage channel to your home, connect it with the downpipe. It is also possible to connect the drain to an underground water tank.
- To create a complete drainage system, you will need some PVC pipes. Place these pipes in the ditch and cover them with sand layer by layer, tamping it down in between layers. This is important to prevent the pavers from sagging.
- The right height for the drainage channels is 3 mm below the top of the paving. The depth depends on the height of the channel. Keep adding layers until you have reached the correct depth. You can now harden the surface by mixing the last layer of sand with concrete. This ensures that the drain will not sink into the ground.
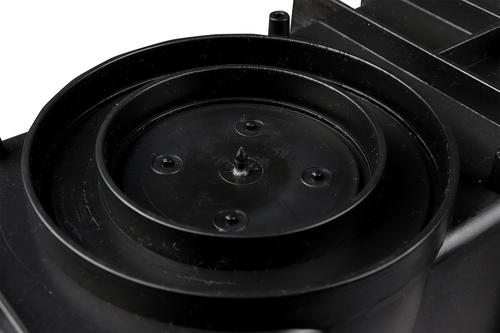
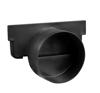
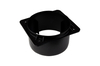
- The drainage channels and outlets will have to be placed carefully, as you cannot adjust the position after the concrete dried. To use a bottom outlet, you will need to cut a hole in the bottom of the channel, so the water can simply flow into the PVC pipe and drain away.
- Attach the end caps to the ends of the drainage channels, and possible side outlets in the desired spots along the side of the drain. Next, make sure the channel is flush against the stone. This could produce a small gap on the other side of the channel, but you can fill this up later.
- You can install 6 to 7 meters of drainage channels in one place. If you want a longer channel, you will need an additional side or bottom outlet. Keep in mind that you can only place side outlets on one side of the drain. It is therefore recommended to first position all the drainage channels, accessories, and pipes to get an idea of how it is going to work, before actually installing the drainage system.
- When all the channels, pipes, and accessories are installed, it is time to fill up any remaining gaps with sand. Tamp the sand down well, especially along the sides, so the channel cannot fall over.
Buying drainage channels
Get rid of excess water with these drainage channels. Order this drainage channel now, including accessories. Check out the corresponding products if you are not sure yet which outlets or other accessories and tools to use.
Do you own a business in the construction or landscaping sector? Sign up for a free business account to benefit from additional advantages, such as a business discount and access to a detailed order history.
Is this not quite what you need? Check out all our drainage channels for different sizes, materials, and accessories.